Sunday, September 16, 2012

Apple Day at Terhune Orchards


This weekend, Jeff and I visited Terhune Orchards for Apple Day! I love any opportunity to visit the Mounts' lovely farm, but it's especially fun during a special event.

Apple season is a wonderful time. I keep apples on hand for snacking during most seasons of the year, but there's nothing like one fresh off the tree. The crisp crunch when you bit into a truly fresh apple is irreplaceable. So, of course, when it comes to apple picking, I tend to get excited and overdo things.


When Jeff and I arrived at Apple Day, we went straight for the orchard to pick our own apples. I remember the first time we went apple picking at Terhune, a few years ago. We picked a dozen or so apples before we figured it was more than we could manage. Perhaps it was, back then. Today, with our canning and preserving expertise, we are made of sterner stuff. We ended up with over 18 pounds of Empires and 12 pounds of Stayman-Winesaps.


Our first apple-picking excursion last year focused on Empires, which we used for applesauce. The sauce was delicious and perfectly sweet without any additional sugar. We loved it, so we knew another batch would be in order this year. Stayman-Winesaps are nice crispy tart apples - one of my favorite eating varieties. They're also good for all sorts of cooking. We made a batch of applesauce with them last year, as well, but it needed some sugar (which I'd prefer not to add if I don't have to). We ended up making a batch of apple butter with this year's batch, since that required sugar anyway. We still have a vast quantity of apples to find a use for. More applesauce, at the very least, is in order for this week.


Once we'd picked our apples and stashed them in our car, Jeff and I were free to roam around the farm.


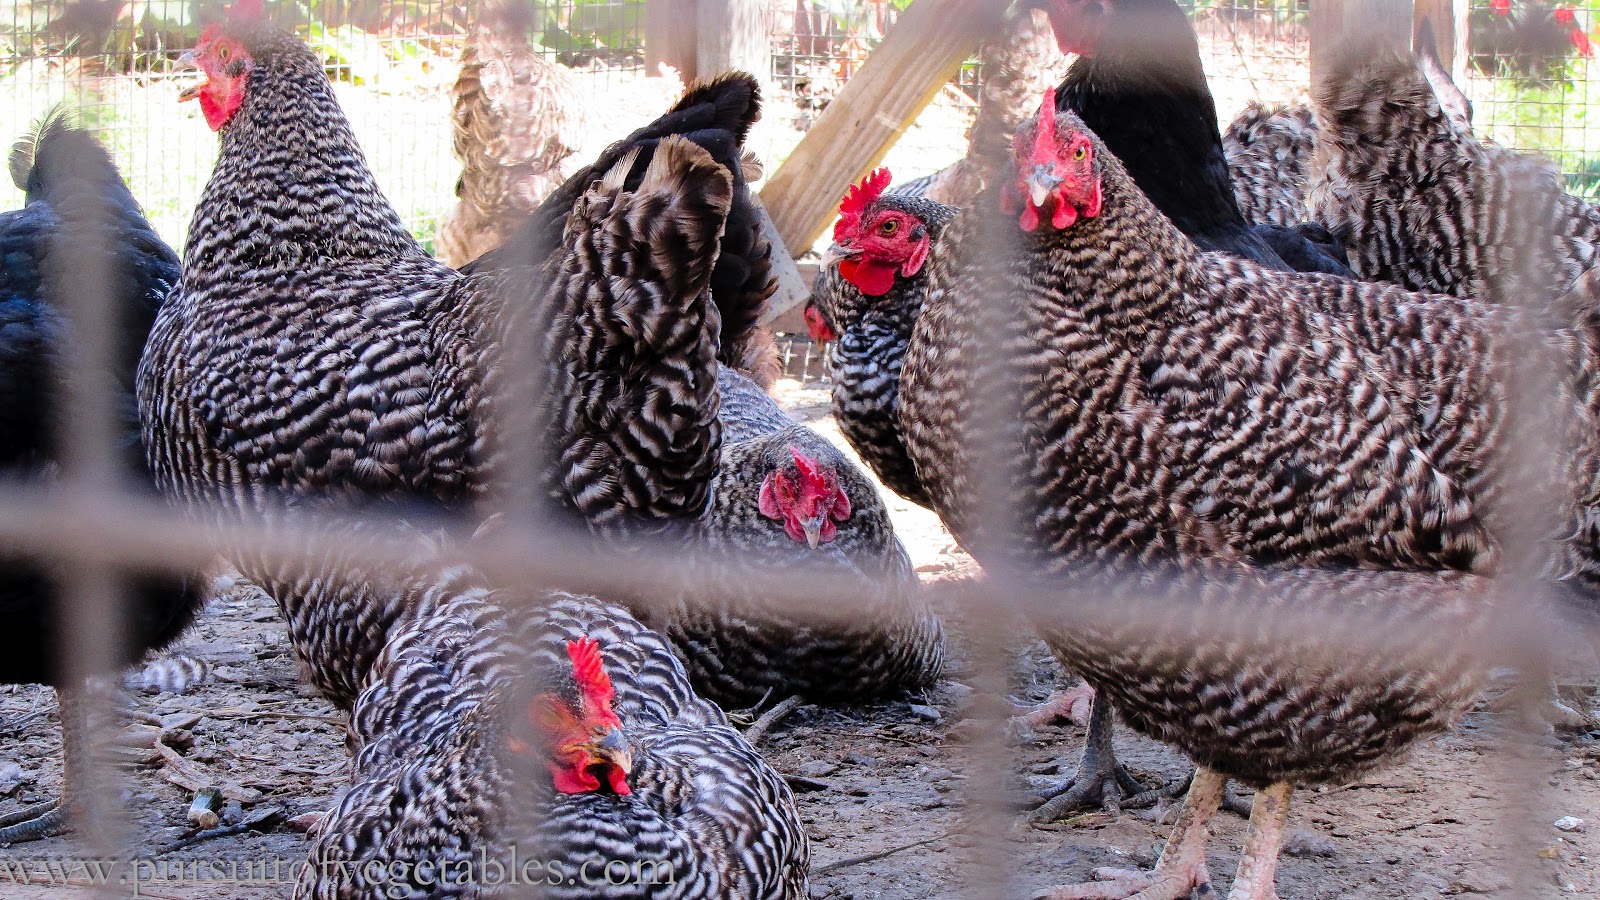
We visited the lovely chickens in their coop. I find the idea of fresh eggs every day so enticing!


It was an absolutely gorgeous day to be roaming around the farm. I took this picture from down by the pond. Check out the solar panels on the roof - all 21st-century farms ought to be so sustainable!


We wandered to the other end of the farm and made our way through the corn maze. It was not as challenging as last year's, since we managed to stumble on the correct path almost right away. Then we stopped by the food tent for some barbecue chicken and apple treats.


Finally, we examined the collection of pumpkins. We decided it was a bit early to buy ourselves carving pumpkins, though (and it's likely we'll get them from the CSA anyway). Instead, I opted for a picturesque cheese pumpkin to decorate my living room until I decide to eat it. Yummy.

Apple Day may be over, but Terhune still has apple picking every day and fall festival events most weekends (pretty similar to Apple Day, from the sound of them, but probably less crowded). Even if you don't live near Terhune, do yourself a favor and get to a farm some weekend. In my opinion, there's no better way to spend a crisp, sunny fall afternoon!

Saturday, September 15, 2012

(Belated) Farm Fridays: Oven-Dried Tomatoes


Hooray for tomatoes! Now I can really get going on stocking my pantry for winter. (I know that my life is not Little House on the Prairie and we will not starve if we don't put up enough food for winter. Even so, I panic a little when I realize it's September and I have completed so few of the staple preserving projects I had planned.)


Welcome to our kitchen counter. This is the vast majority of the counter space we have to work with in our kitchen, and yesterday it was nearly full of produce from the farm. We got a ton of stuff yesterday - I knew a lot of it was going to be preserved rather than eaten this week. The jalapenos went straight into the freezer (easiest thing in the world to freeze, in my opinion). Today, most of the edamame were blanched and frozen as well. The tomatoes are the big project, since there are so many. We made yet another batch of heirloom tomato salsa today (which is incredibly delicious). We're probably going to can some chopped tomatoes later in the week. I'm waiting on those plum tomatoes to ripen so I can finally get going on canned whole tomatoes - I had planned to make a lot this year, and so far we haven't done any. But we can't start until we have enough fully ripe ones. So I wait.

Last week's plum tomatoes were finally fully ripe on Thursday, so I decided to oven-dry them. And since I'm a glutton for punishment, I went out to the farmers market and grabbed two more quarts of ripe ones to dry as well (I figured I might as well fill the oven). We made a batch of oven-dried tomatoes last year, froze them, and used them in lots of winter dishes. They bring an amazing pop of concentrated sweet tomato flavor to any dish (like Farfalle with Asparagus, Sun-Dried Tomatoes and Boursin). Sun-dried tomatoes are expensive. Frozen oven-dried tomatoes are cheap and easy to make. All you need are some sweet plum tomatoes, a little oil and some time.

Time is the real issue. The recipe I used said 5-6 hours in the oven. I didn't get mine in until after 5 pm, and overloaded the oven with three baking sheets, meaning that by midnight, they still weren't done. Hence the belated Farm Fridays post. We tossed them in a tupperware, put them in the fridge overnight, and finished them off this afternoon. Overall, this batch took about 8 hours. What can I say? Good things take time. And these are a very good thing. Try them and see!

Oven-Dried Tomatoes
From Put 'Em Up.

any quantity plum or paste tomatoes (they will have to fit on baking sheets in your oven, of course - I did not weigh the quantity I used, but just figured out how many would fit on my baking sheets before I proceeded)
canola oil

Preheat oven to 250° F.

Slice tomatoes in half lengthwise. Toss in a bowl with just enough canola oil to coat.


Lay the slices out on parchment-lined baking sheets, cut-side up.


Place sheets in the oven for 5-8 hours, until the tomatoes are shriveled and caramelized (it's ok if some of them turn black around the edges - they're not really burning and still taste fine). The length of time will depend on the size and moisture content of your tomatoes as well as how many you attempt to squeeze into the oven. Keep checking them and be patient. You want them to be dry to the touch and a little rubbery, not gooey or oozing.


When the tomatoes are done (or most of them - a couple big ones in the above picture are still a bit underdone, but I froze them anyway), stick them on parchment-covered baking sheets (the same baking sheets are fine, if they fit in your freezer) and put them in the freezer overnight. The next day, remove the tomatoes from the baking sheets and transfer to a labeled freezer bag for storage (freezing them individually first allows them to freeze faster and prevents them from sticking together in the bag later).

Friday, September 7, 2012

Farm Fridays: Bean Burritos


News flash: the tomatoes are in at Honey Brook Farm! The first planting of tomatoes had some issues, so we haven't seen many so far this year, but the next waves are finally beginning to ripen. I took over 12 pounds of tomatoes home from the farm today and I've planned several tasty canning projects for tomorrow. 


Everything else seems to be ripe right now, too. I know I keep saying this, but it never fails to astonish me. The variety is amazing at this time of year. I had a hard time putting together a menu for this week because I was simply overwhelmed with options. Check out my notes:


In case you're wondering, this is what I do every week. I make a list of all the perishables in my fridge, then all the new produce that I've picked up, and use my online recipe database (it's handy to have a programmer for a husband) to come up with a menu that will incorporate as much of it as possible. As you may be able to see from my list of recipes at the right, and the numerous cross-outs on my schedule, I just couldn't decide today. No matter what I chose, it seemed like I was leaving something out. I ended up giving up a little and leaving a few days blank next week. I'll survey the scene on Wednesday and figure something out.

My end-of-the-week, scraped-together, fridge-clearing recipes are usually some kind of pasta or fried rice with lots of odds and ends thrown in (the fried rice special somehow always manages to be excellent). I've recently realized that the burrito is another awesome alternative for that kind of haphazard day. Toss in pretty much anything, sprinkle it with cheese and toast it closed. Burritos are easy to make and flexible enough to accommodate whatever you have on hand.

This particular recipe came about because I had some leftover beans sitting in the fridge, a pile of shallots in the basement (my makeshift root cellar) and lots of peppers in the crisper. I've been getting some beautiful cubanelles and jalapenos at the farm, but they've been finding themselves lonely and forlorn in the fridge at the end of the week. This is a great place to use up all those gorgeous peppers - any color or type will do!

Bean Burritos
Makes 2 large burritos.

1 tbsp olive oil
1 red sweet pepper, diced
1 large shallot, diced
1 jalapeno, minced
1 c beans, any variety, cooked
1/4 tsp smoked paprika
1/4 tsp chili powder
1/4 tsp dried oregano 
squeeze lime juice
2 large wraps
1 c rice, any variety, cooked
1/2 c shredded Mexican cheese blend
1/2 c sour cream or Greek yogurt

Heat the oil in a medium skillet over medium-high heat. Add the shallot and peppers and cook 4-5 minutes, until softened.


Add the beans to the pan along with the paprika, chili powder, oregano and squeeze of lime juice. Stir to combine. When the beans are heated through, season with salt and pepper to taste.

Lay the wraps out on a counter or cutting board. Spread 1/2 c rice in the center of each wrap, topped by half the bean mixture and 1/4 c cheese.


Carefully fold the burritos: fold one end over, tuck the sides in, then flip the whole thing. Place the burritos seam-side down in a hot panini press. Press the burritos for 3-4 minutes, until the bottoms begin to brown, then flip and press another 3-4 minutes. Slice in half and serve with sour cream or Greek yogurt for dipping!


Tuesday, September 4, 2012

Festive Summer Cabbage Salad


Summer isn't over until you let it be over. As long as you can manage to wear your shorts and flip flops, use your grill and eat dinner outside on the deck, summer is still around.

Even though the calendar says September, summer vegetables haven't dropped off the map. Throwing them together in a salad like this one will keep you in a summery mood for a few more weeks. I put this together when I was inspired to try fresh lima beans from the farmers market. I associate lima beans with icky, mushy frozen vegetable mixes from the grocery store. Fresh ones are much nicer. The texture is firm and pleasantly beany. I'm definitely a convert.

This salad came from my endeavor to find something to do with my lima beans. I decided to make a succotash recipe I found in my Southern Living Farmers Market Cookbook. But that salad was just lima beans and corn, and I had a lot of vegetables in my fridge that wanted to be used. So I threw in a red Hungarian pepper (my favorites!) and a tiny, baseball-sized head of red cabbage. The result was a beautiful mixture of colors and textures - the sort of dish that just makes me smile. (Note: it's best eaten as quickly as possible, because the red cabbage will start turning all of those other pretty colors purple by the next day!)

Festive Summer Cabbage Salad
Adapted from the succotash salad in the Southern Living Farmers Market Cookbook.

1 c fresh lima beans
2 ears corn
2 tbsp extra virgin olive oil
2 tbsp lemon juice
1/2 tsp hot sauce
1/4 tsp salt
1/4 tsp black pepper
3 tbsp fresh chives, chopped 
1 red pepper, diced
3 cups red cabbage, chopped (from one tiny head)

Bring a large pot of well-salted water to a boil. Add lima beans and cook 17 minutes. Add corn to the pot and cook another 3 minutes, until corn is heated and beans are tender. Remove the corn, drain the beans and rinse under cold water (to stop the cooking).


In a large bowl, whisk together oil, lemon juice, hot sauce, salt and pepper. Slice the corn kernels off the cobs and add them to the bowl with the beans, chives, peppers and cabbage. Toss well to combine and coat everything with some dressing. Serve room temperature or chilled.