Friday, June 29, 2012

Farm Fridays: Farro Salad with Basil and Corn


What a day! I can't believe I have the energy to post right now. After finishing the second-to-last week of my class - a week that, work-wise, was the roughest of them all - I ended up getting sick. I tried to brush it off, ascribing my symptoms to allergies (which may well be the cause), but it evolved into an earache which landed me at the doctor this morning. He confirmed that not only were both ears infected, but I was also running a fever, so I should take some antibiotics, go home and rest.

Rest, unfortunately, was not on the agenda for the next five hours. Since Jeff is not home tonight, I had to race around doing all of my end-of-the day chores (I contemplated not watering the garden, but it was 95 degrees out today - it was pretty necessary). Only now am I finally collapsing on the couch, with time to write up this awesome recipe.


I started my morning at the farm, picking up my share: three heads of lettuce (I keep taking the red romaine because the heads are relatively small), half a pound of lacinato kale, a pound of rainbow chard, a bunch of green onions, a bunch of basil and assorted peas. The crop of snap and snow peas was not good this year. Today was the first time I got any, and it was a gleaning day. I took advantage of the gleaning. I spent a good forty minutes in that field sifting through the weeds to find any reasonably mature pea left on the plants. I ended up with three-quarters of a pint, although none of them were very good quality.

When I was planning my recipes, I focused on using up the basil. Basil goes in a lot of things, but not in the sort of quantity I have (except for pesto, which I didn't feel like making this time around). After considering several recipes, I decided on a farro salad from June's Cooking Light. Good decision. I'd been wanting to expand my whole grain repertoire, and farro sounded like a good option. It is quick-cooking (just 20 minutes), pleasantly chewy and slightly nutty. I'm a big fan. And combined with sweet corn, aromatic basil and a zingy vinaigrette, it was a great summer side dish. I served it today with leftover tandoori chicken on a bed of lettuce, but I can see it working as a side dish with a summery meal off the grill as well. Maybe next time I'll even add some grilled zucchini to the salad! 

Farro Salad with Basil and Corn
Adapted from Cooking Light June 2012.

9 oz farro 
2 ears corn
1 1/2 tbsp sherry vinegar
1 tbsp olive oil
1 tsp Dijon mustard
1/2 tsp salt
1/4 tsp black pepper
1 garlic clove, minced
1/2 c basil leaves

Cook the farro according to the package directions (mine was cooked 20 minutes in salted boiling water). Four minutes before the farro is done, pop the corn into the same pot. When cooked, remove the corn from the water, then drain the farro and cool it under running water.


Meanwhile, make the vinaigrette. In a small bowl, whisk together the vinegar, oil, mustard, salt, pepper and garlic. Set aside.

When the corn has cooled a little, slice the kernels off the cobs. Thinly slice the basil.


In a large bowl, toss together the farro, corn, basil and vinaigrette. Serve room temperature.

Saturday, June 23, 2012

Garden Update: Six Weeks Later


When I decided to post about my vegetable garden on my food blog, I had no idea that it would rapidly become one of my most popular posts of all time. Clearly I've hit on something good here. So, since everyone seems to be interested, I thought I'd update you on what's going on six weeks later (ok, really seven weeks, since it took me so long to complete the post, but the pictures are a week old, so let's call it six).


The garden really looks lovely. I am absolutely thrilled with it. Even though the raised bed doesn't get as much light as it should, my tiny seedlings have sprouted into real plants. We've been harvesting kale and chard with growing frequency. I picked all the large chard leaves right after I took this picture last week, and another half pound had grown for me to harvest yesterday. Since we've been getting so many CSA greens, lately the garden greens have been going straight into the freezer, which is fine by me. There will be no purchasing of imported California greens this winter!

If you've been following along, you might remember that I had planted a row of spinach. That didn't do so well. We had some gorgeous baby spinach leaves, but one day the entire row of tiny plants decided to bolt and go to seed. We ended up pulling that row, eating what was left in salad, and replanting it with six yellow bell peppers and four banana peppers (two of which are in the next row, replacing a summer squash plant that kicked the bucket for no apparent reason). All the pepper plants are pretty small, owing to their late start, but have begun blossoming anyway.

The Brandywine tomato plants look awesome. We already have a dozen or so tomatoes developing on the vines, and the vigor of the plants suggests more will follow. The neighboring kohlrabi are similarly vigorous, with beautiful thick leaves. The stems have been thickening for a week or two and some have just begun forming their round above-ground bulbs. And the summer squash, a bit stunted by a late frost, I think, have finally gotten going. The first tiny squash is visible, so I hope to begin harvesting in a few days!


Our ground-level side bed has been hijacked by winter squash. All my talk about thinning the winter squash plants eventually was a bunch of hot air. I just let them grow. Now they're everywhere, covering my trellis, curling around my tomato stakes, trying to suffocate my bell peppers (which are doing a great job leaning out from under the squash leaves - I think they'll end up ok). I had been joking with Jeff that it would serve me right if every one of these plants turned out to produce inedible gourds - I know I'd thrown the remains of my fall centerpiece into the compost. As it happens, the most vigorous plant (the one that's five feet tall in this picture) has developed its first squash . . . and it's totally a gourd. I have hopes that the tiny squash forming on another plant is an acorn, but we'll see. Hopefully we'll get some edible squash out of this monstrosity!

The radishes in this bed have been a disappointment. I had staggered my plantings, seeding half a row every week or so. The radishes which had been next to the tomatoes were lovely, if on the small side. All were harvested and both roots and greens were enjoyed. Since then I replaced the row with some basil - regular and lemon. But the radishes in the lower bed never did very well. Only a single radish ever developed a real root, and that was tough and very sharp tasting. In the above picture, the row is at the extreme left of the bed. The front half had already been picked, but you can see some thriving radish greens toward the back. I left that bunch in the ground for a long time, hoping they would develop roots eventually. They did not. Yesterday, after one started to flower, I just pulled the row out. At least we got nice greens out of them. Maybe I'll have better luck with a fall crop.

Chloe wants to know what I find so interesting about this spot. And why I put up a fence and won't let her lay in the mud.

The herb garden has seen the most work since my initial post. I had been eying the irises that lined it with annoyance for some time - they hang all over the garden path, getting in my way, and they seemed to be shading the parsley and extra tomato plant I threw in with the herbs. Jeff attacked the bed for me last weekend, taking out all the irises and other plants and leaving the herbs on their own. To fill some of the newly empty space, I moved my pineapple sage to a roomier spot and added another rosemary, a purple basil and a French tarragon. So far, I think this was a great move. That tomato plant, which had been questionable, has a ton of new growth, and the herbs are starting to expand and spread out as well. And I can walk down the path without getting assaulted by wet iris leaves, which makes me happy.


The potted chard is doing beautifully. I never thinned it out, like I did with the row in the raised bed, but it seems to be fine with that. I plan on tapping into this supply of tender baby chard leaves very soon. The spinach did not fare so well, with very few sprouting at all, and those that did bolting quickly (yes, the spinach in this picture has bolted - pathetic, I know). The summer squash seems to be doing very nicely. It had its first blossom today.


Despite being in a poorly-draining pots, these tomatoes and bell peppers are doing very well. The bell peppers have flowered and begun producing fruit (you can see the first few pepper nubs in the picture at the top of the page). I also took some stray lemon balm I pulled up while weeding and potted it. It seems to be doing quite well in its new home on the deck.


The other side of the deck has become a tomato jungle. The yellow stuffer tomatoes have begun producing nice looking fruit. I can't wait until they're ready and I get to finally taste them!


Planting beans along the side of the house has proved to be a fantastic idea. They caught on quickly, winding themselves up the small starter trellises and over onto the honeysuckle and clematis. They've begun producing pretty bi-colored flowers, as you can see in the picture below. As of today there are tons of flowers on these vines, but no sign of beans as yet. I have high hopes, though.


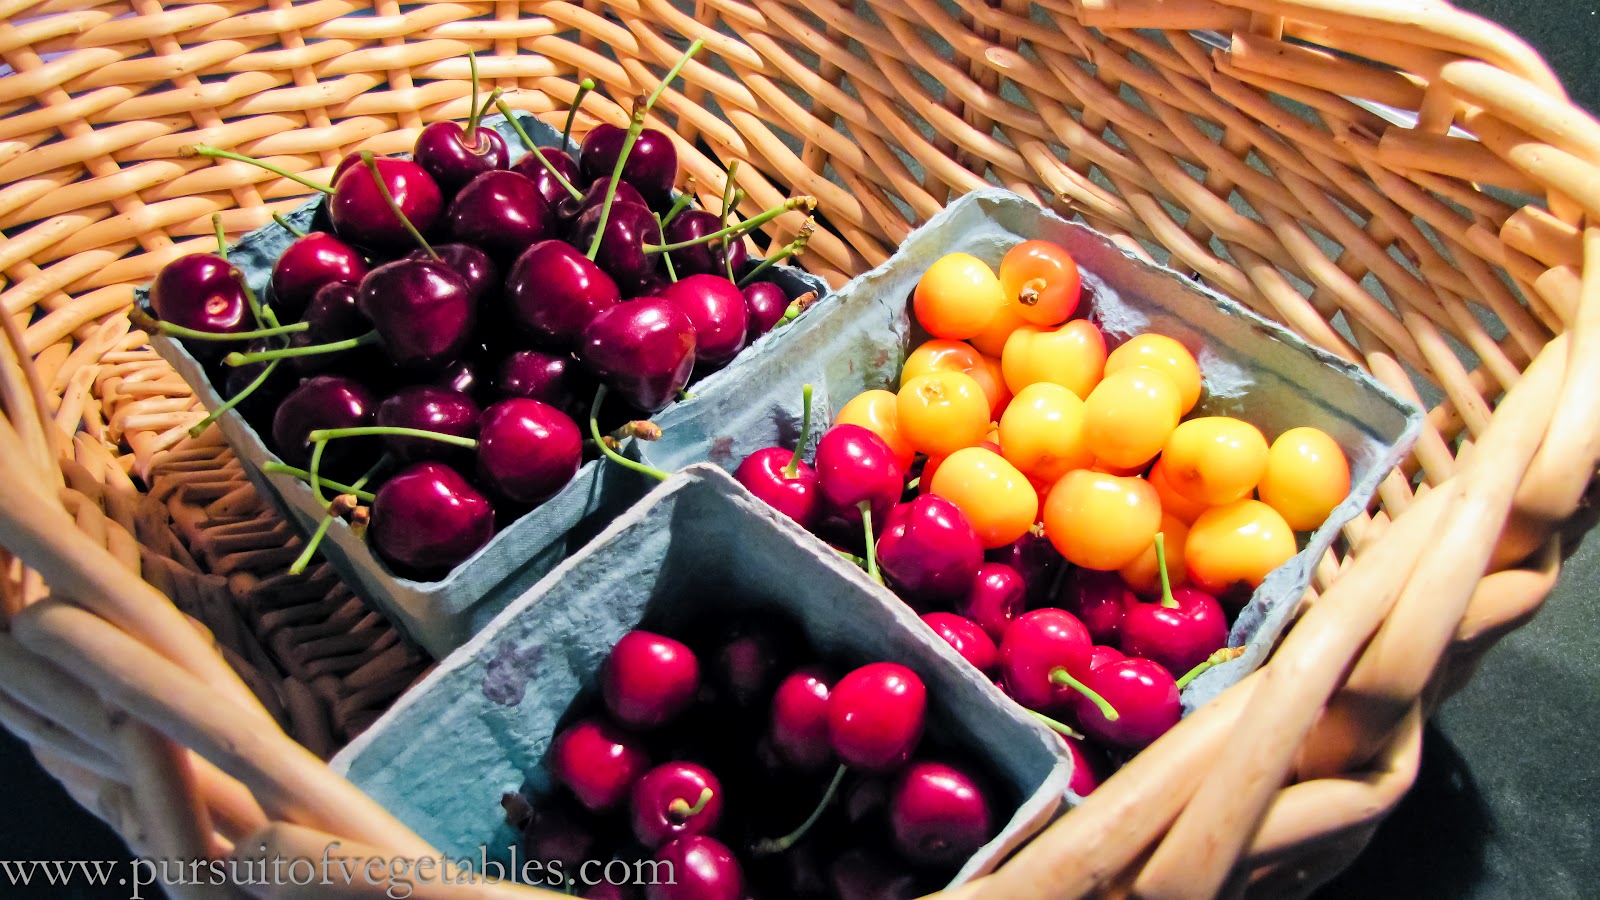
So far, we've picked more than three quarters of a pound of chard, a pound of kale, 56 radishes (only half had nice roots, but we got greens from all of them), 2 raspberries (sad, but I only planted the bush last year - it's growing better this year, so I have hope for the future), 105 strawberries, 7-8 cups of sad spinach, and 14 cherry tomatoes. Not bad so far, but I hope the next six weeks will prove far more productive!

Friday, June 22, 2012

Farm Fridays: Tzatziki


It feels like summer outside, but my CSA share hasn't gotten there yet. We're still working on the spring greens. So many greens.


Today I got a ton of lettuce (no surprise there), chard, collard greens, a head of cabbage, a huge bunch of scallions and some cucumbers. Too many greens for two people to eat in a week. Even though I love chard, I decided that this wasn't its week. This afternoon, I took the half pound from the farm plus another half pound I picked out of our garden, blanched the leaves and froze them. Chard goodness will have to wait for another day, later in the summer or fall, when I'm starved for greens. Until then, I'll focus on the others.

Today's dinner actually didn't include any of the produce from this week - we made some pork wasabi tacos to use up some of the Napa cabbage I had left over from last week's share. I plan on posting that quick, tasty recipe sometime soon.

Since it's so hot out, I'm not feeling these greens right now. I'm ready for summer flavors. And what tastes like summer more than tzatziki? Back in March, there was a lady at Whole Foods giving out samples of hummus and tzatziki. I tasted some and was immediately transported to a lazy summer afternoon. When yogurt and cucumber combine their powers, they distill the essence of summer into a form that can be easily scooped up on a crisp pita chip. So what better way to celebrate summer than to whip up a nice bowl of this refreshing dip? I can't think of any.

Tzatziki
Adapted from Cooking Light: Way to Cook Vegetarian.

1 c cucumber (I used two small ones - about 8 oz total)
1 c Greek yogurt
3 fresh mint leaves, minced
1 clove garlic, minced
1/4 tsp salt
1/4 tsp black pepper

Grate the cucumber and gently squeeze some of the liquid out. (The recipe says to peel them first, which I did, but in retrospect, I think I'd rather have the peels on for a little color and texture).


Combine the cucumber, mint, garlic, salt and pepper in a small bowl and mix well.


Add the yogurt and mix well to combine. For the best flavor, let it sit in the fridge for about an hour. (If, like me, you can't wait to taste it, know that it's pretty good right away, too!)


Saturday, June 16, 2012

Cherry Picking at Terhune Orchards


When I called Terhune Orchards on Friday to ask about this weekend's cherry picking, the lady who answered the phone advised me to come early. I figured that meant there weren't a ton of ripe cherries to pick (since it was the first day) and the jam-makers would get them all within a few hours.


I managed to get over to the farm by 9:15 (they opened at 9). When I pulled up to the gates, my jaw dropped at the sea of cars already parked on the lawn. This is a shot of the smaller parking area - there were many more cars behind me.


I hightailed it over to the cherry trees, following the handy signs and slipping in front of large families along the way.


This was the line to get into the cherry orchard (when I left, thank goodness - when I got there it was much shorter. I just missed the early rush and slipped in before the next wave). They charged admission for each person, which was credited toward your purchase on the way out.


The rows of cherry trees were covered with light-colored canvas, the sides of which were covered in netting. I thought, at first, this was to control human entrance to the grove, but I later realized it was to keep the birds and other pests out. Good call - the trees were laden with pristine fruit, undamaged by tiny teeth (my childhood experience with fruit trees is that they were banquet halls for squirrels - I might employ this trick if I ever grow fruit in the future).


The trees were sagging under the weight of their delicious fruit. This tree is a Ranier, sporting bright yellow cherries with a pink blush. I took picked five different varieties - Montmorency (sour cherries), Ranier, Chelan, Hartland and Schmidt. The Schmidt cherries, if I am right about the varieties, are huge, deeply red, rich fruits that remind me of the Bing cherries you can get at the grocery store. These are my current favorite (and if I'd found them first, they might have filled all my containers). I tried to be reasonable, taking only 3-4 pounds of cherries, since I don't intend to can anything today (I have too much work to do this weekend to be spending hours pitting cherries!). Instead, I plan on snacking on this juicy bounty all week long.


Friday, June 15, 2012

Farm Fridays: Preserving Garlic Scapes


I don't know about you, but I've got too many garlic scapes sitting around.

Garlic scapes are one of my favorite springtime delicacies. They're awesomely smooth and curly and give a mellow garlic flavor to any dish. I've been using them in place of garlic cloves for the past few weeks (and I put garlic in nearly everything), but I still haven't diminished my stockpile. After picking a new batch up from the farm this afternoon, I noticed my old ones were beginning to yellow at the tip. Something had to be done.

One of my preserving books suggests preserving garlic scapes by sauteing them in oil for a few minutes and then freezing them in ice cube trays. I tried this last year with a small amount of scapes and it worked well (although it was nearly Christmas before I rediscovered them in the freezer). With a few minor tweaks, that recipe took care of today's scape problem, too.


My new garlic scapes came with a moderate pile of other produce (not as generous as the previous few pick-ups): four heads of lettuce (ok, that was generous - I took one large green one and three tiny red ones), a head of broccoli, two zucchini, dandelion greens, a Chinese cabbage and a bunch of chard. The Chinese cabbage looks particularly good. I don't know about the dandelions - I'm not into bitter greens. I'll try them anyway, but I'm doubtful I'll like them. I'm hoping to contain the lettuce mania this week - most of it will be pawned off on brought up to my parents, so we should actually have a few lettuce-free days before our next pickup. At least I have a variety of salad veggies to put on it this week, like that gorgeous broccoli head.

Frozen Garlic Scapes in Oil
From Put 'Em Up!

any amount garlic scapes
1 tbsp olive oil per cup of scapes
salt to taste

Chop the scapes into relatively even slices.


Heat a saute pan over medium heat. Add the olive oil and swirl to coat. Add the scapes, season with salt, and saute about 5 minutes, until softened.


Turn off the heat and transfer to a freezer-safe container. (The original recipe said ice cube trays, but I tried that last year and, when it came time to transfer my cubes to a bag, they broke apart into individual scapes again. That suggests to me that just tossing them all in the same container from the beginning will be fine. It's probably the oil that keeps them from adhering to one another.) Make sure you label it with the date. The scapes will be good for up to six months in the freezer.


Yes, it's that easy.

Monday, June 11, 2012

Preserving: Strawberry Jam


In the previous post, I mentioned getting two quarts of strawberries from the farm this weekend. One quart would have meant gorging ourselves on delicious berries, but two quarts meant it was finally jam time! (Don't worry - there were still some to spare for gorging.)

Strawberry season is short and precious. I spend months looking forward to it, hoarding recipes that I will make when I am flooded with delicious berries. Yet, once those berries arrive, I find myself loathe to do anything but eat them straight up. I want to preserve the flavor, but I don't want to deprive myself of any berry-eating in the process. So while I've purchased and picked a number of pints and quarts so far, it took until this weekend, with its two days in a row of berry-picking, for me to be willing to sacrifice some berries for my future enjoyment.

I've only made jam once before and was surprised at how easy the process was. Of course, since the jam I made was chili-tomato, the process wasn't much fun. I seem to recall wearing sunglasses as I stirred the mixture, to keep the noxious pepper fumes from singeing my eyeballs. It was hard to breathe in that kitchen. And poor Jeff, who chopped all those peppers, had tingly fingers for days. Strawberry jam is not at all like that. Hulling berries is simple, mashing them up is fun, and the jam gels up lickety-split. I just wish I got more out of the batch (somehow, the recipes I make from this book yield half as much as they should - this time I got two and a half cups, rather than four. I have no idea why).

Now that I have delicious jam, I need to bake a batch of fresh bread to enjoy it on!

Quick Strawberry Jam
From Put 'Em Up!, my go-to canning book.

1 c sugar
1 tsp Pomona's Universal Pectin
4 c strawberries, washed and hulled
1 tsp calcium water (comes with the pectin)
1/4 c bottled lemon juice (the acidity of fresh lemons can vary widely, so bottled juice is safer)

Whisk together sugar and pectin in a small bowl and set aside. Measure out the lemon juice and calcium water and keep them ready.

In a nonreactive saucepan, mash the berries with a potato masher (the fun part!) until they reach a fairly even consistency.


Slowly bring to a boil, stirring constantly to prevent scorching. Stir in the calcium water and lemon juice, then slowly add the sugar and pectin, stirring to dissolve. Bring back to a boil, still stirring. When the mixture reaches a boil, remove from the heat.


Let rest five minutes, stirring occasionally to release any air bubbles. Skim off the foam. (I neglected this step - all the stirring dissipated my foam so much that I couldn't corral it with a spoon. I'm not sure what difference it makes.)

Ladle into clean half-pint (or 4 oz jam) jars. Process in a boiling-water canner for 10 minutes, then rest 5 minutes more before removing.


Saturday, June 9, 2012

(Belated) Farm Fridays: Grilled Vegetable Pizza


No, I haven't forgotten about Farm Fridays. I planned to make a nice broccoli salad last night with dinner and then blog about it. But that broccoli salad turned out . . . not pretty. And the rest of the meal was the potato salad I posted about a few weeks ago and some barbecue chicken. So there was no post last night. I will make up for it with a post today, and another in a few days, both from this week's delicious produce.


The seasons are changing at the farm. The greens are much reduced (at least, for now) and other vegetables are making their way into my farm basket. This week, we got four heads of lettuce (mostly butter lettuce, which is my favorite!), gorgeous broccoli, bok choy, red chard, garlic scapes, zucchini, scallions and strawberries. I also picked some garlic chives and winter savory (which I'm hoping to root and plant in my own herb garden!). But this was not my only CSA dealing this weekend. Apparently the Friday people got fewer strawberries than everyone else (since they weren't available for our first pick up), so we were allowed to go down to the Chesterfield farm for extra strawberries this weekend. So first thing this morning, Jeff and I got in the car and headed down for our bonus berries. We got another quart of strawberries and another bonus: a quart of green beans!

Since we were already in the area, Jeff and I then headed to Russo's Orchard Lane Farm, just down the road. I visit Russo's stand at the Trenton Farmers Market (we've been enjoying their greenhouse-grown Jersey tomatoes for the past few weeks), but I'd never been down to the farm. At their quaint little farm store, we picked up some grape tomatoes as well as a pile of snap peas, shelling peas, blueberries and garlic. The ride home was awesome, as Jeff and I gorged ourselves on straight-from-the-farm raw summer goodness. While raw green beans are good, raw snap peas are better, and raw shelling peas are just heavenly. There is no better way to spend a summer morning.

Our fresh summer day finished off with a delicious grilled vegetable pizza. I had been planning a pizza with the zucchini from this week's farm share and an ancient red onion from my basement, but I was inspired to add the pert little grape tomatoes as well. At the last minute I decided that our pizza dough ought to be grilled as well. Good decision. The pizza we make on our pizza stone is good, but the crust is never as crispy as we'd like it to be - grilling it resulted in a delightfully crispy crust with picturesque grill marks. I don't think we'll be seeing much of our pizza stone in the near future.

Grilled Vegetable Pizza
2 small zucchini, sliced into 1/4" slabs
1 red onion sliced into 1/4" rings
10 cherry tomatoes
cooking spray
1 pizza dough (mine was homemade with this recipe, minus the basil)
3/4 c pizza sauce (I'm out of home-canned sauce, so I used store-bought)
6 oz fresh mozzarella, sliced
2 tbsp fresh oregano, roughly chopped
salt and pepper

Coat grill rack with cooking spray, then preheat to about 375°F. Spray the zucchini, onion and tomatoes with cooking spray and season with salt and pepper. String the tomatoes onto a skewer. When the grill is hot, spread the veggies on the rack and cook 5-6 minutes on each side, until tender (the tomatoes only need about 5 minutes total). Remove and slice into bite-sized bits.


Arrange your toppings next to the grill. Make sure everything is prepped and ready for you to top your pizza quickly!


With the heat between 300 and 350°F, roll out the dough and carefully place it onto the grill, keeping it from sagging between the rungs. Cook 3 minutes, covered until the bottom is cooked and starting to bubble.


Flip the dough, then quickly arrange the toppings: sauce first, then veggies, then cheese. Season with salt and pepper. Close the lid and cook another 6-10 minutes, until the cheese is melty and the bottom crust is nice and crispy. Slide onto a serving platter and enjoy!


Friday, June 1, 2012

Farm Fridays: Barbecue Turkey Burger with Garlic Scapes


Having a weekly blog feature seems a little silly if that's the only day of the week I ever post. My schedule has filled up, so posting more than once a week may be more difficult than it sounds. This was the first week of my summer course - Monday to Thursday for six weeks - and I'm already exhausted. Past experience has shown me that I love to teach, but this course has taken it to a new level. I left my first lecture with a giddy grin across my face that stuck around through most of my drive home. I enjoyed teaching US history, and I enjoyed teaching writing, but teaching something I'm truly passionate about is a new experience. Hopefully the excitement and happiness will help me overcome the fatigue - especially as the summer harvest really begins to kick in. Being too tired to cook when I get home is not an option!


Greens are still dominating my CSA share this week, but non-greens are beginning to slip into my basket too. This week I got three heads of lettuce and two of bok choy (all a bit holey from last week's hailstorm, but I don't think I'd have noticed if I didn't know to look for it). There was also another pound of spinach, another quarter pound of arugula, a bunch of French breakfast radishes, a pint of strawberries and a pile of ropey garlic scapes.

Garlic scapes were probably the most exciting discovery I made as a first-time CSA member last year. The scape, sometimes known as green garlic, is the stem of the garlic blossom, plucked before it has a chance to flower. Scapes are smooth and pretty, last a long time in the fridge, and have a delicious garlic flavor - all virtues in my book. When I thought about doing something special with these scapes, the delicious turkey burgers Jeff made a few weeks ago came to mind. The day we made those, I had made a pint of chive blossom vinegar. After I cut off the blossoms, I sliced up the chive blossom stems (essentially the same as scapes) and tossed them in with the burger meat, imparting a nice little chivey flavor. I figured garlic scapes would pack an even more flavorful punch, and I was not disappointed.

Ground turkey has a reputation for being dry (due to its low fat content), but a healthy helping of barbecue sauce takes care of that. We used some charred chile barbecue sauce we canned last summer. It's a little hot for my taste, but mixing it into a burger tones it down. I felt the heat building after I'd finished about half the burger, but it never got overwhelming. The scapes, which we sauteed in a bit of olive oil before adding, were more than able to hold up to the strong flavors of the barbecue sauce. I tasted garlic in every bite. Add some crunchy fresh kale, fancy roasted red pepper ketchup, and a fresh French roll, and you've got one delicious burger. You should try this. Soon.

Barbecue Turkey Burgers with Garlic Scapes
Makes two delicious burgers.

1 1/2 tbsp garlic scapes, sliced
1 tsp olive oil
8 oz ground turkey
2-3 tsp barbecue sauce (we used home-canned charred chile sauce)
3 tbsp chopped fresh herbs (we used oregano and parsley)
salt and pepper to taste

Preheat a grill to 400°F

Back on the stove, heat the oil in a small skillet over medium heat. Add the garlic scapes and saute 3-4 minutes, until softened.


In a medium bowl, combine the turkey, barbecue sauce, herbs, sauteed garlic scapes and salt and pepper. Mix well, then divide in half and form into burger patties.


Gently place the patties on the grill (be careful - the patties will be moist and will want to ooze down into the grill). Cook about 5 minutes on one side. Turn the heat down to 325°F and grill another 3-4 minutes, until cooked through.


Serve on fresh buns with your choice of greens and fancy ketchup!